Instructions
Siser EasyWeed™ Heat Transfer Vinyl and Siser ColorPrint Easy™ are available through consultation with a lab assistant. EasyWeed™ Heat Transfer Vinyl is available in multiple colors and can be cut on the Graphtec. Siser ColorPrint Easy™ can be printed and cut on the Roland. Care Instructions: Do not dry clean•Machine wash WARM or COLD / mild detergent•Dry at normal setting / No chlorine bleach / Wait 24hrs before first wash.

Fig 1 – Mirror Graphtec Transfer Vinyl
Printing / Cutting Notes
For plain/glitter cut vinyl, materials should be cut in a mirrored image of the desired application. The side you see while it be being cut is the side that will be adhered to the fabric. For printed vinyl, the image should not be mirrored – it should be printed as it is intended to be seen. The side you see during the printing process is the front side.
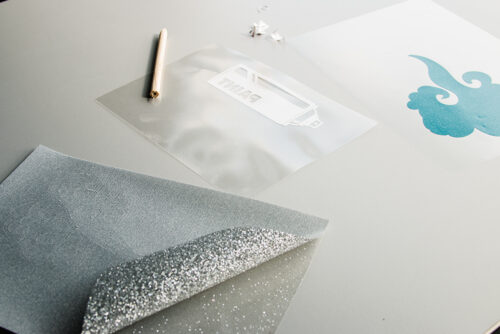
Fig 1 – Mirror Graphtec Transfer Vinyl

Fig 2 – Selecting the Type of Vinyl in the Menu
Application
Turn on the heat press using the red switch on the top. Using the attached pen, navigate to the menu (bottom left icon), and select the type of vinyl you are applying. This will automatically set the correct heat, time, and pressure settings.
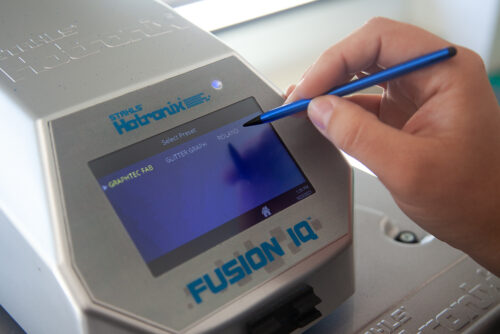
Fig 2 – Selecting the Type of Vinyl in the Menu

Fig 3 – Pulled out Lower Platen
platen
The lower platen on the press pulls out like a drawer to allow for easier manipulation of the materials. Lay fabric on the lower press platen and smooth out any wrinkles. Press fabric only (without print) for 5-10 seconds to remove any moisture from fabric.
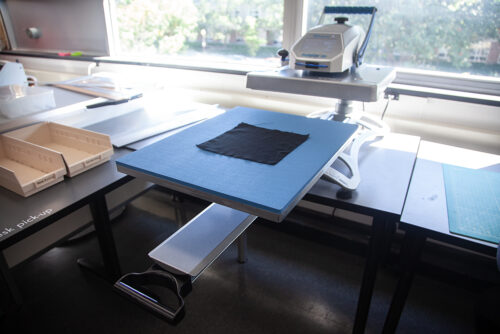
Fig 3 – Pulled out Lower Platen

Fig 4 – Weeding
Weeding the Vinyl
Weed all unwanted area(s) of the image, so that you are left with only the vinyl you want applied to the fabric.
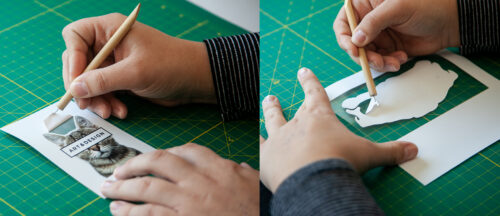
Fig 4 – Weeding

Fig 5 – Applying Transfer Tape to Printed Vinyl
Application Tape
For plain or glitter vinyl, the backing material will behave as the “application tape” when placing on fabric. For printed vinyl, after unwanted areas are weeded, apply (clear) heat press application tape over the complete image without tiling or creating a seam, and remove back release liner (backing).
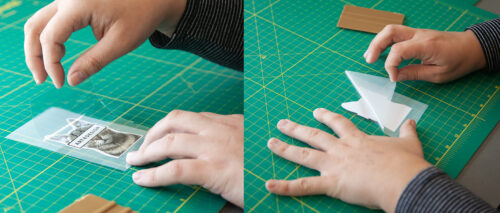
Fig 5 – Applying Transfer Tape to Printed Vinyl

Fig 6 – Application Tape in Press
Placing the Vinyl
Place image (with application tape) on fabric with no air bubbles. Leave application tape on for pressing.
If you are only applying one layer of vinyl, press for it for the full time set on the press (time varies by type of vinyl). If you are layering plain vinyl, press first layer for 1 second, then remove application tape, and apply the next layer, making sure that all vinyl is covered with application tape. Repeat as needed. Press final composition for the full time (time varies by type of vinyl).
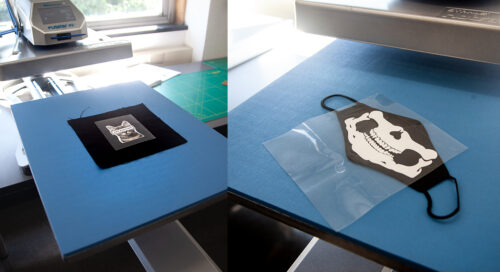
Fig 6 – Application Tape in Press

Fig 7 – Peeling Application Tape
Finishing
Remove from press, and peel back transfer tape at a sharp angle while still warm. Test a small corner first, then apply pressure to print while removing application tape. If print has not fully adhered, repeat pressing steps as needed.
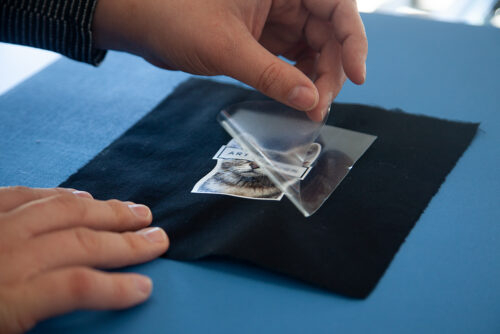
Fig 7 – Peeling Application Tape

Fig 8 – Finished!
Saving
DONE! Please turn off heat press after use.
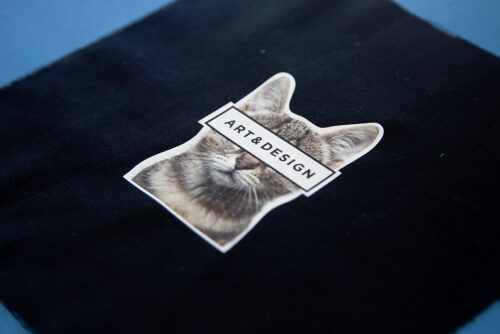
Fig 8 – Finished!