Scanning Documents and Drawings
- Open the Epson Scan 2 software (in the Applications folder).
- Place the document face side down on the scanning bed.
- Make sure the white covering board is installed in the upper part of the scanner.
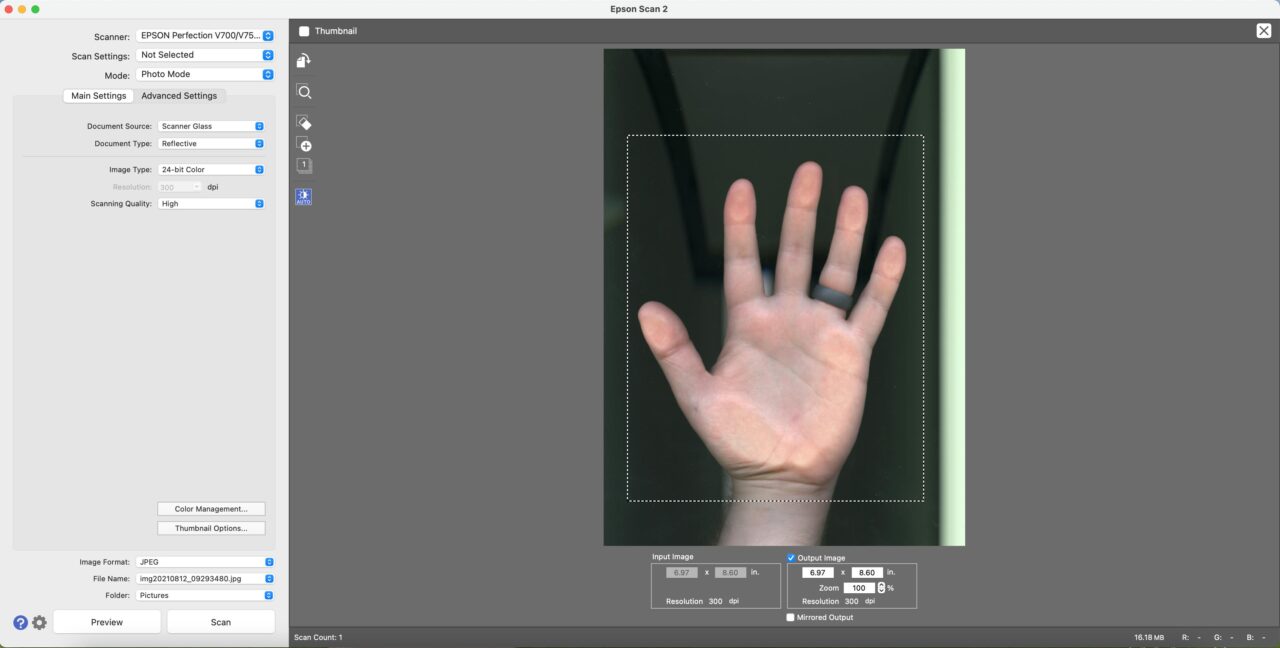
- For Mode choose Photo Mode.
- For Document Source choose Scanner Glass. For Document Type choose Reflective. Set your Image Type to 24-bit Color.
- Setting your resolution will depend on what you want to use the scan for. If the scan is only for e-mail and web usage a scan at 96 dpi should be sufficient. For a printed image the scan should be at a minimum of 300 dpi. If you are scanning to print at a larger size, adjust your resolution accordingly. Alternatively, after you scan your preview, you can check the Output Image box on the preview panel and adjust the zoom setting to select you target size for your desired output.
- Click Preview.
- Drag a box around the area that you want to scan in the Preview window. The scanner will only scan the area you indicate.
- Set your image format, file name, and folder, and click Scan.