Film Scanning with the Epson Flatbed Scanners
- Open the Epson Scan 2 software (in the Applications folder).
- Place the negative emulsion (the matte side) side down in the negative holder. It is helpful to clean the negative with canned air after it’s been placed in the holder to minimize dust.
- Place the holder to the right of the guide that says Film Area.
- Remove the white covering board from the upper part of the scanner.
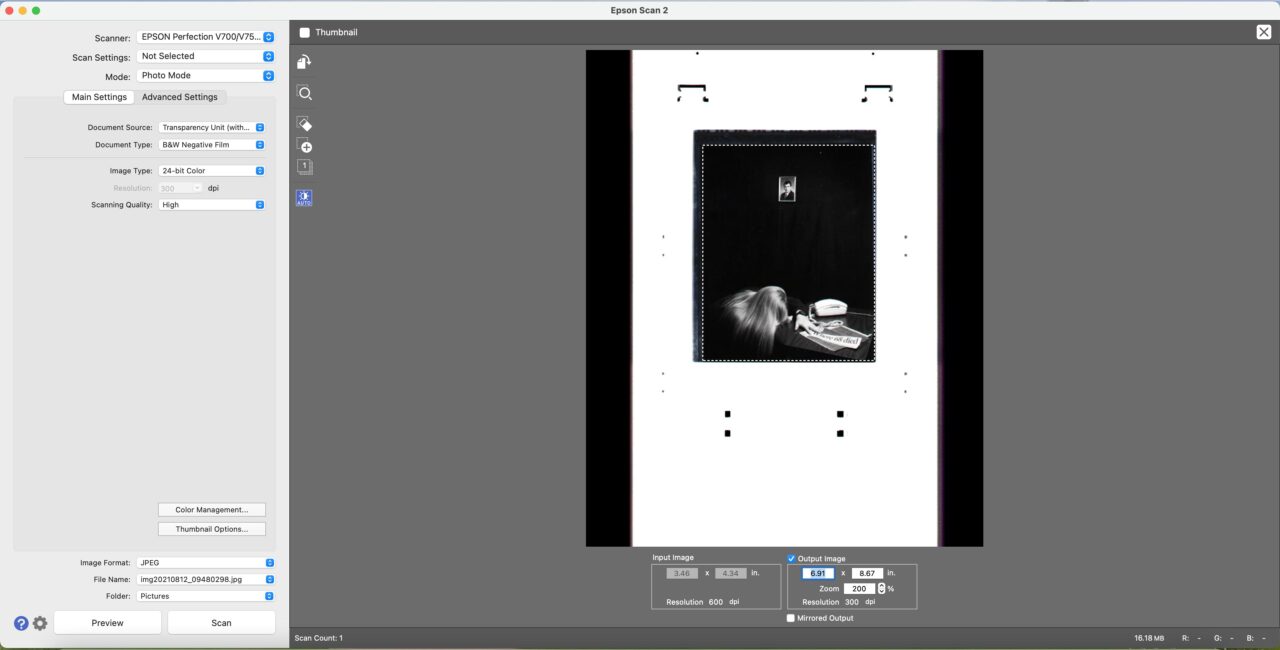
- For Mode choose Photo Mode.
- For Document Source choose Transparency Unit (with film area guide) and then choose your film type with the Document Type drop down. Set your Image Type to 24 or 48-bit Color for color negatives, 8 or 16-bit Grayscale for B&W.
- Setting your resolution will depend on what you want to use the scan for. If the scan is only for e-mail and web usage a scan at 96 dpi should be sufficient. For a printed image the scan should be at a minimum of 300 dpi. If you are scanning to print at a larger size, adjust your resolution accordingly. Alternatively, after you scan your preview, you can check the Output Image box on the preview panel and adjust the zoom setting to select you target size for your desired output.
- Click Preview.
- For a larger view of a negative, make a bounding box around click on Zoom in the top left corner.
- There are several tools for making adjustments to exposure, color balance, and density.
- Auto Exposure: The software will automatically make adjustments for proper exposure unless you deselect this option under Color in the Configuration dialogue box. If you have this deselected and later want the software to preform the auto exposure adjustments you click this button.
- Histogram: The histogram will show a graph of the tonal range of the image in the bounding box. The sliders underneath the graph show the output levels from where the scan will begin collecting data. To get the most information possible in the highlight and shadow areas pull the sliders on the far left and right to edges of the data in the graph. The middle slider can be moved back and forth to increase or decrease exposure of the middle tones. Within the Histogram dialogue a simple way to adjust the color balance is to use the gray pipette to select an area of the image you feel is close to neutral gray. Click the pipette on that area and the software will adjust the color balance of the image according to the neutral gray you selected. You can try various areas in the image to determine the color balance you want.
- Tonal Curve: This can be used in a way similar to the histogram to adjust density and color. There are several pre-made curves under the Tone Curve Name drop down window. You can also create a custom curve by place your own points and adjusting accordingly.
- The fourth button provides sliders for Color Balance and Density adjustments.
- Color Palette: This will allow you to add a specific color to the mid-tonal range, or to choose a tonal range of the image and make color adjustments in the palette. It is usually better to do these types of adjustments in Photoshop after you have made the scan.
- To scan several negatives at one time (batch scan) draw a bounding box around each negative you want to scan. You can make adjustments to each of the negatives individually, then click on All on the left hand side of the preview window before clicking Scan.