Fig 1 – Sample Design Worksheet
Preparing Your File
After you have finished editing your file and you have hooped your fabric and stabilizer, you are ready to stitch your design.
1. In the Bernina software, go to the File menu and select Print.
Send your print to one of the color laser printers in 235. This is your design worksheet. The design worksheet shows you the thread colors you are using and in what order they will be needed.
The order of the thread colors is important. When the machine reads your embroidery file, the colors will not be translated correctly. The preview on the machine will show you incorrect thread colors, but they will still be in the correct order. You will need to make sure that you load the proper threads in the proper order as indicated by your job sheet.
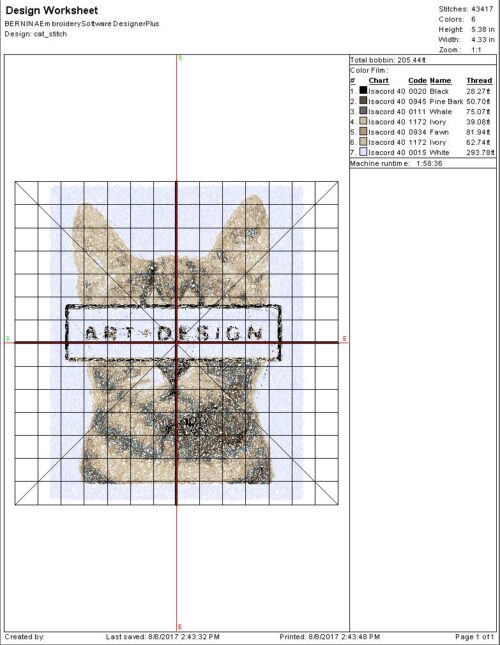
Fig 1 – Sample Design Worksheet

step 2
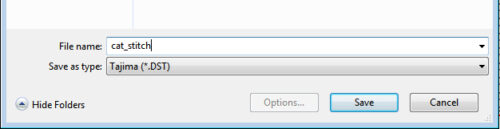
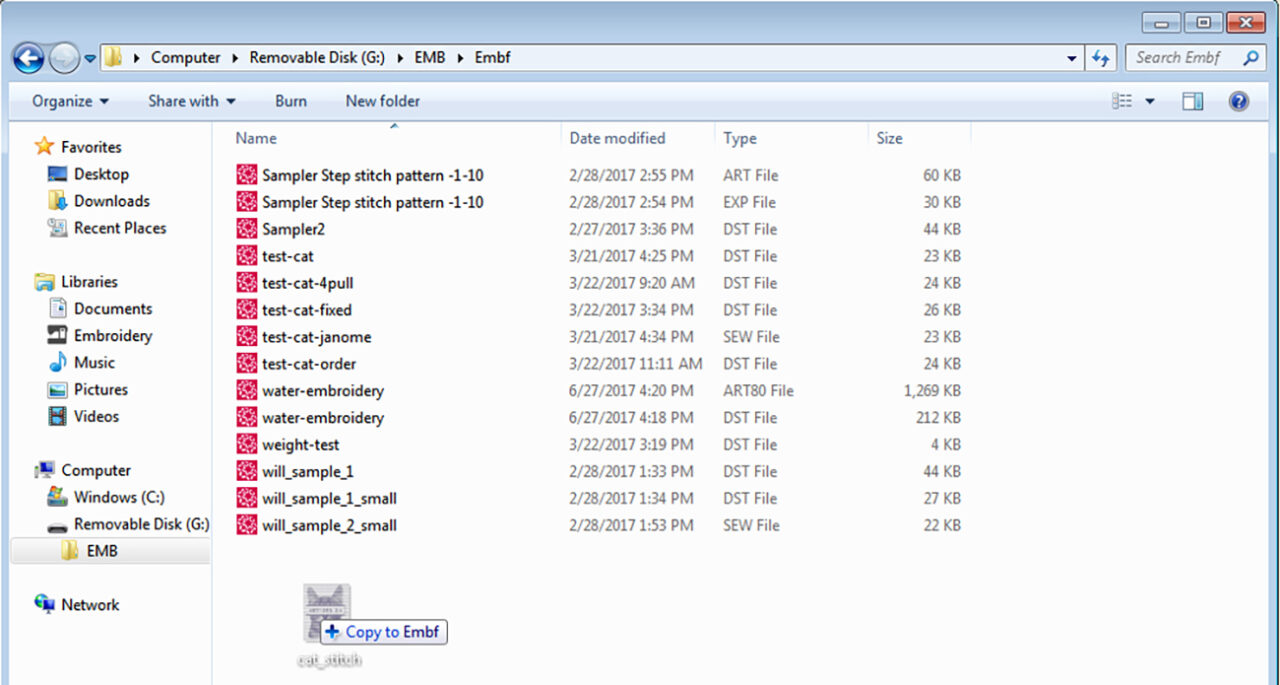
2. In the Bernina software, in the File Menu, select Export Machine File. In the Save as type dropdown, select Tajima (*.DST) and save your file to the desktop. Copy the file to the Embroidery USB into the EMB/EMBF folder. Eject the USB from the computer and plug it back into the embroidery machine.

step 3
3. Load the first color thread. See page 11-12 of the Instruction book for threading instructions.
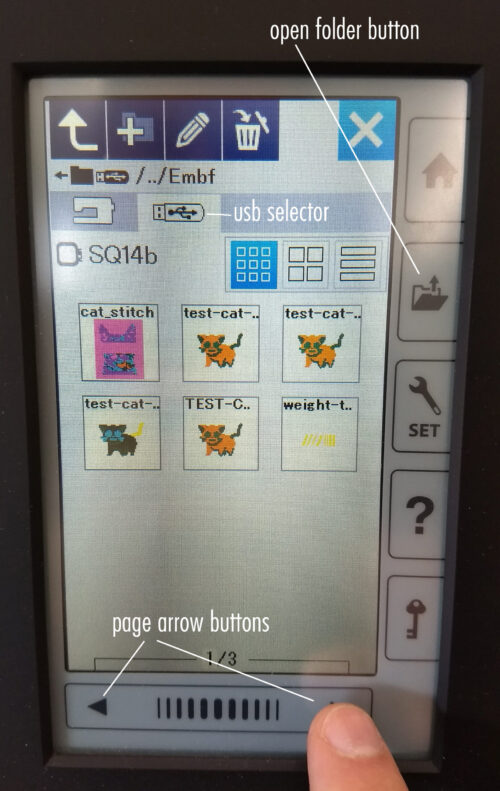
4. Open your file on the Embroidery Machine by pressing the Open Folder button. Select the USB stick as the source and open the EMBF folder. Files will be categorized by which hoop size they are formatted for. Use the page arrows underneath the screen to navigate the different hoop categories and locate your file. Confirm that you have hooped your fabric on the hoop that the file is formatted for.

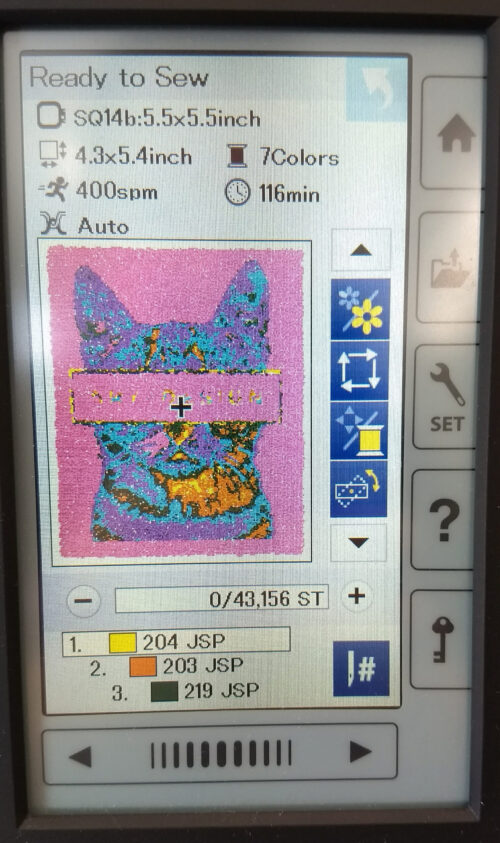
step 5
5. Once the machine is threaded, the hoop is loaded, and the file is brought up on the “Ready to Sew” screen, press the green Start/Stop button to begin stitching. (See page 26 of Instruction Book for more details about the Ready to Sew screen.) You will need to stick around and watch your job stitch in case there are any thread breaks or other jams that need your attention. The machine will prompt you to load the next color when it has finished the first one.